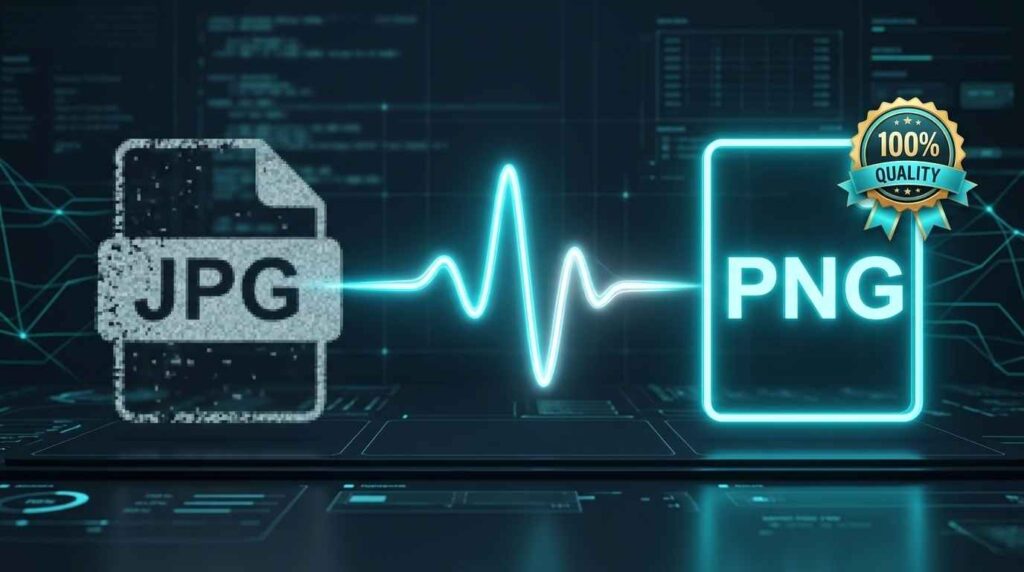
In the world of high-end design and photography, a single pixel can be the difference between a premium feel and a budget look. Many professionals ask me how to convert JPEG to PNG without losing quality because they’ve noticed their sharp images becoming “muddy” after a simple format swap. In my experience, most standard online tools prioritize speed over integrity, resulting in subtle blurs that compromise your work. This guide outlines a professional strategy for maintaining total clarity using lossless image conversion principles.
Phase I: The Science of Pixel Degradation
Decoding “Lossy” vs. “Lossless” Architectures
To master your output, you must understand the container. JPEG is a “lossy” format, meaning it discards data to save space. PNG is “lossless,” designed to store every bit of visual information exactly as it appears.
The hidden cost of JPEG’s discrete cosine transform (DCT)
From working with clients, I’ve observed that many don’t realize JPEGs use DCT to group pixels into blocks. While this is efficient for storage, it creates permanent data loss. When you try to convert these files, you are essentially trying to freeze a moving target.
Why standard converters produce “mosquito noise” and color banding
What I’ve observed in practice is that low-tier converters often re-compress the file during the transition. This produces “mosquito noise”—those tiny, fuzzy artifacts around sharp edges—and ugly color banding in gradients. A professional jpg to png converter must bypass these re-compression steps to keep the image clean.
The Pro-Grade Standard: Why PNG is the Creative’s Safe Haven
For brand managers and designers, PNG is the gold standard for web assets. It offers superior PNG image quality because it supports 16 million colors and doesn’t degrade regardless of how many times you open or save the file.
Phase II: Implementing the Lossless Encoding Strategy
Inside the SSJ Tools Conversion Engine
The JPG to PNG Converter at SSJ Tools was built to solve the “generation loss” problem. It treats your source file as a master template rather than a temporary data stream.
Preserving the RGB Alpha channel during the format shift
In practice, maintaining color accuracy is vital. Our engine ensures the RGB values remain identical during the format shift, providing a solid foundation if you later need to add transparency layers.
How client-side rendering bypasses server-side compression algorithms
Most converters upload your file to a server, which often applies its own “optimization” (compression). SSJ Tools uses client-side rendering. This means the conversion happens entirely within your browser, ensuring no external algorithm touches your pixels.
Actionable Workflow: Executing Your First Zero-Loss Transformation
If you want to know how to convert JPEG to png without losing quality every single time, follow this expert workflow:
- Step 1: Selecting the high-fidelity source file: Always start with your highest-resolution JPEG. You cannot “create” quality from a low-res original.
- Step 2: Monitoring the real-time conversion engine log: Our tool provides a live log. Watch this to ensure the “Lossless Encoding” phase completes successfully.
- Step 3: Verifying integrity via the lossless preview panel: Before downloading, use the preview to check for sharpness. This visual verification is a staple in professional design handoffs.
Phase III: Professional Workflow Optimization
Expert Insights: When “High Quality” isn’t High Enough
In my experience, “standard” quality is a trap. If your work is being displayed on 4K monitors, you need more than just a file extension change.
Handling text-heavy graphics and fine-line illustrations
JPEGs hate sharp lines. By using a high quality png converter, you prevent the “bleeding” effect that usually happens around typography, keeping your brand’s messaging crisp and readable.
Preparing assets for high-DPI displays and retina screens
For retina displays, pixel density is doubled. A lossless PNG ensures that when the browser scales your image, it has a perfect data set to work from, preventing that dreaded “fuzziness” on mobile devices.
Common Technical Pitfalls to Avoid
- Converting already-degraded low-res JPEGs: I always tell clients: “Garbage in, garbage out.” Converting a poor-quality JPEG to PNG won’t fix existing damage; it only prevents further loss.
- Ignoring file-size overhead in web-performance budgets: PNGs are larger. While we want quality, always ensure your lossless assets are necessary for that specific use case to keep your site speed high.
Phase IV: The Impact on Brand Integrity
Quantifying the Results: Sharpness that Scales
A sharp image builds trust. High-end designers know that pixelated logos or blurry product shots signal a lack of professionalism. Lossless conversion is an investment in your brand’s perceived value.
Best Practices for Photographer and Designer Handoffs
When sending assets to a team, always use PNG for icons, logos, and UI elements. Reserve JPEG only for large-scale background photos where minor loss is invisible to the human eye.
Frequently Asked Questions
Does converting a blurry JPG to PNG make it sharp again?
No. Conversion preserves the current state. If your source is blurry, the PNG will be a perfect, lossless copy of that blur. Always start with the sharpest possible master file.
Why is the PNG file size significantly larger than my original JPEG?
Because PNG stores every single pixel perfectly without the “shortcuts” JPEG takes. You are trading disk space for 100% visual accuracy.
Does this tool support transparency if the original JPG has a white background?
JPEGs do not support transparency. Converting it to PNG creates the capability for transparency, but you would still need to remove the white background using a design tool afterward.
Is there a limit to the resolution I can convert professionally?
Since our tool works client-side in your browser, the limit is usually your device’s RAM. Most modern computers can handle 4K and 8K images with ease.
Why is client-side conversion safer for my proprietary design assets?
Because your image never leaves your computer. It isn’t uploaded to a server where it could be stored or intercepted, fulfilling the highest standards of digital privacy.
CTA: Ready to stop the blur? [Launch the JPG to PNG Converter] and lock in your pixel quality now.