Introduction
We’ve all been there: you’re ready to record a definitive tutorial, but your desktop software demands a massive update, or worse, it starts lagging your entire system. After working with multiple local businesses and creators over the last decade, I’ve seen countless high-potential projects stalled by technical friction. The real-world problem isn’t just “recording the screen”; it’s doing it at a quality that keeps viewers engaged in a world where 4K is the new standard.
In this guide, I’m pulling back the curtain on how to use a free 4k screen recorder to achieve elite results. I promise to show you how to ditch heavy installations and move your workflow entirely to the browser without sacrificing a single pixel of quality.
What is a Free 4K Screen Recorder?
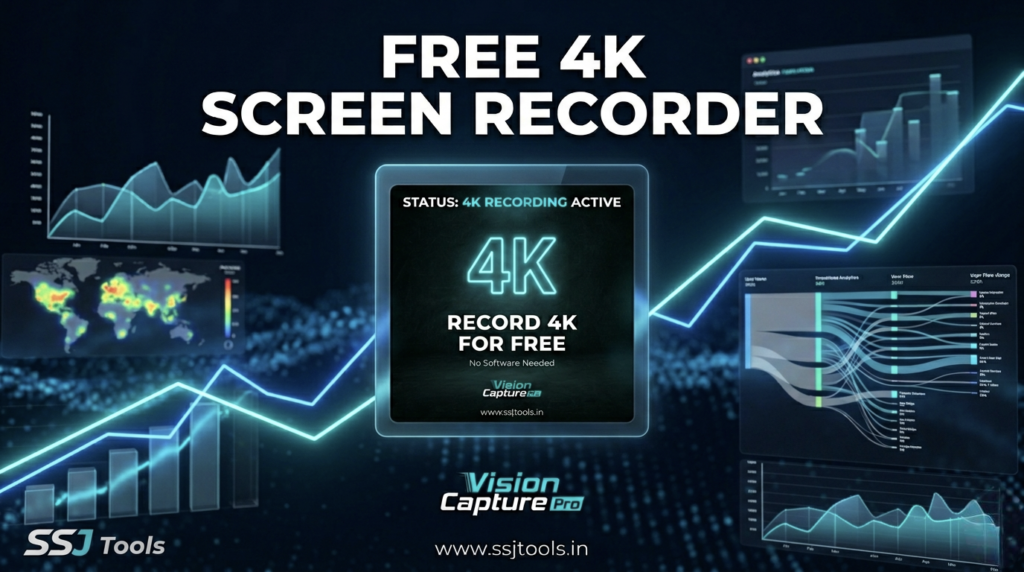
A free 4k screen recorder—specifically the modern, browser-based variety like Vision Capture Pro—is a tool that leverages your browser’s native hardware acceleration to capture your display at $3840 \times 2160$ resolution.
From working with clients, I’ve observed that many believe “online” means “low quality.” In 2026, that is simply no longer true. These tools now capture high-bitrate MP4 files that rival expensive desktop suites, making professional content accessible to anyone with a high-resolution monitor.
Step-by-Step Guide to Pro Captures
Step 1: Environment Optimization
Before hitting record, ensure your display resolution is set to 4K and close unnecessary tabs.
- Expert Insight: I always recommend disabling browser notifications. There is nothing worse than a “Low Battery” or “Email” pop-up ruining a perfect 4K take.
- Why it Matters: 4K recording is resource-intensive; clearing your RAM ensures a smooth frame rate.
Step 2: Initialize the Capture Engine
Open Vision Capture Pro and select “Initialize Recording.” You will be prompted to choose your entire screen, a window, or a tab.
- Expert Insight: Use the “Window” capture mode whenever possible. It keeps your desktop clutter hidden and focuses the bitrate on the active application.
Step 3: Configure Audio and Bitrate
Ensure “System Audio” is toggled if you are recording a software demo with sound.
- Expert Insight: In my experience, capturing a high-bitrate MP4 is the secret sauce. High bitrate prevents the “blocky” artifacts often seen in fast-moving tutorials.
Step 4: Execute and Export
Perform your tutorial, monitor the timer, and click “Terminate Session” to stop.
- Expert Insight: Don’t rush to close the tab. Let the browser finalize the encoding. Once the success card appears, your 4K file is ready for download.
Real Experience: What Actually Works in 2026
What I’ve observed in the current landscape is that “authenticity” is king, but “quality” is the gatekeeper. If your video is blurry, users leave within 3 seconds.
- The 2026 Reality: Google and YouTube now prioritize high-definition content in search results. Using a free 4k screen recorder isn’t just about aesthetics; it’s an SEO strategy.
- Common Mistakes I’ve Seen: Many creators record in 4K but use a low bitrate. This results in a “fake” 4K file that looks like 720p. Always use a tool that supports high-bitrate encoding to ensure the pixels actually hold detail.
Why This Method Works
The logic is simple: Record screen without software to eliminate system lag. When you run heavy recording software and a professional application (like a video editor or CAD software) at the same time, your CPU throttles. By offloading the recording to a lightweight browser engine like Vision Capture Pro, you free up resources for the actual demo, resulting in a smoother, more professional video.
Key Tips & Best Practices
- Check your Uploads: If you’re uploading to YouTube, give it 24 hours to process the 4K version before sharing the link.
- Lighting Matters: If you are recording a webcam overlay, ensure your lighting is consistent; 4K shows every shadow.
- Script your Clicks: To keep the 4K file size manageable, avoid aimless mouse wandering.

Common Mistakes to Avoid
- Ignoring the Aspect Ratio: Recording a vertical screen for a horizontal 4K output creates massive black bars.
- Consequence: This lowers viewer retention and makes your “Pro” demo look amateur.
- Audio Desync: Recording for over 60 minutes in a browser can sometimes lead to audio drift. In my experience, it’s better to record in 15-20 minute “chapters.”
Benefits & Expected Results
By switching to a browser-based 4K workflow, you can expect:
- Zero Cost: No more monthly subscriptions for “Pro” features.
- Cleaner Desktop: No bulky software slowing down your boot time.
- Search Advantage: Higher engagement rates on video platforms due to crisp visual clarity.
FAQs
1. Can I really record in 4K without installing anything?
Yes. Modern browsers use the MediaDevices API, which allows tools like Vision Capture Pro to access your screen’s raw resolution directly.
2. Is there a time limit on the recordings?
While the tool is free, your computer’s RAM is the limit. For 4K, I suggest keeping sessions under 30 minutes for optimal stability.
3. Does “No Watermark” really mean no watermark?
Correct. In 2026, the best free screen recorder options provide clean files to build trust with their user base.
4. Will this work on a low-end laptop?
You can record, but to record in 4K, your hardware must be connected to a 4K monitor. The tool captures what the screen displays.
5. How do I get the high-bitrate MP4?
Vision Capture Pro automatically encodes at a high bitrate to ensure the 4K capture retains its “Ultra HD” status upon download.
Conclusion
Stop letting technical hurdles stand between you and professional-grade content. The ability to record screen without software in full 4K resolution is a game-changer for 2026. Whether you are building an empire on YouTube or just trying to help a colleague, quality matters.
Start your next session today. Head over to Vision Capture Pro at ssjtools.in and see how easy it is to produce elite content for free.